 Clearwater Siding
 Siding Installation in Sunset Point: What Local Homes Are Up Against
Sunset Point sits inside one of the more demanding climate zones in the country for exterior building materials. Homes here deal with hurricane-force wind gusts during storm season, brutal year-round UV exposure that most of the country never sees, wind-driven rain that gets forced sideways into wall assemblies during squalls, and a steady dose of salt-laden air coming off the Gulf and the surrounding waterways. Any one of those on its own would shorten the life of ordinary siding. Together, they're the reason siding installation in this part of Pinellas County has to be treated as a system, not just a covering nailed to the wall.
When we talk about "siding installation" for a Sunset Point home, we're not just talking about the visible boards. We're talking about the water-resistive barrier underneath, the flashing details at every window and door, the fastening pattern that keeps panels attached in a gust, and the specific product engineered for this climate zone. Get any one of those wrong and the siding might look fine for a year or two before problems show up as bubbling paint, soft trim, or water intrusion behind the wall.
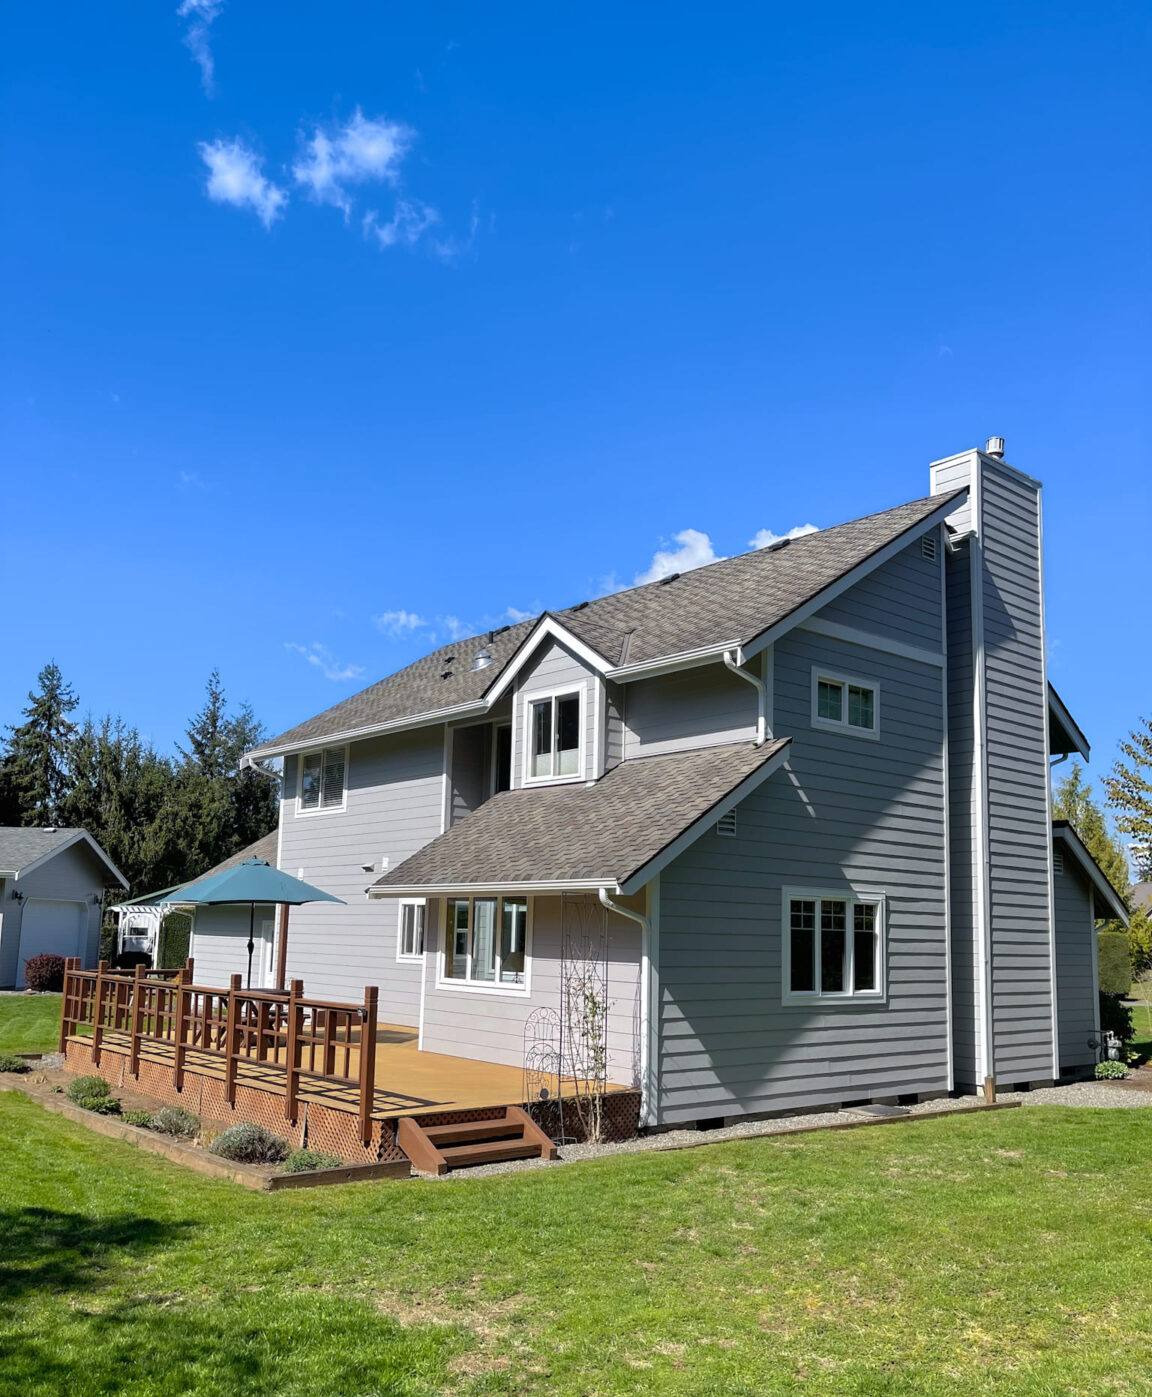
Why Sunset Point Homes Need More Than a Standard Install
A lot of siding failures we get called out to inspect aren't failures of the material — they're failures of installation practices that were never built for a Gulf Coast climate. A crew that mostly works inland, or that installs the same way in Clearwater as they would in a dry, low-wind region, tends to skip details that don't matter much elsewhere but matter enormously here.
Wind Load
Pinellas County building code sets wind-load requirements that dictate fastener spacing, fastener type, and how siding is attached at corners, edges, and around openings. A correct install accounts for uplift and lateral pressure, not just gravity. Undersized or under-driven fasteners are one of the most common causes of siding that comes loose in a tropical storm, long before winds reach hurricane strength.
Moisture Intrusion
Wind-driven rain doesn't fall straight down — it gets pushed sideways and upward under eaves, around window heads, and into any gap in the water-resistive barrier. A correctly lapped and taped barrier, combined with proper flashing at every penetration, is what keeps that water out of the wall cavity. Skip a step here and the damage stays hidden until wood sheathing or framing is already rotting.
UV and Salt Exposure
Central Florida sun degrades unprotected wood and lower-grade coatings faster than most homeowners expect, and salt air accelerates corrosion of exposed fasteners and metal flashing. Materials and hardware both need to be rated for this environment, not just for general exterior use.
What a Correct Siding Installation Involves
There's a defined sequence to a siding job done right, and skipping or rushing any step is where problems start. Here's what should happen on every installation, whether it's a full re-side or new construction.
- Removal of old siding down to the sheathing, with an inspection for rot, delamination, or hidden moisture damage before anything new goes up
- Repair or replacement of any compromised sheathing — new siding should never go over a damaged substrate
- Installation of a continuous water-resistive barrier, properly lapped shingle-style so water sheds outward, not inward
- Flashing at every window, door, and roof-to-wall intersection, integrated with the barrier rather than just caulked over it
- Correct fastener type, length, and spacing for the wind zone and substrate
- Proper joint and butt-seam treatment to keep water from wicking into panel edges
- Factory-finished color and caulk lines that match the product manufacturer's specifications, not generic hardware-store sealant
Any one of these steps done wrong can undercut the whole job, even if the siding material itself is top quality.
Our Installation Process, Step by Step
Inspection and Prep
We start by evaluating the existing exterior wall assembly — not just the siding, but what's behind it. Soft spots, previous water damage, and outdated or missing barrier material get identified and addressed before installation begins. This is also when we confirm the wind zone and code requirements that apply to the property.
Moisture Management
We install a continuous water-resistive barrier and integrate flashing at every opening and transition. This step is the one most likely to get shortcut by crews trying to move fast, and it's the one most responsible for long-term performance in a climate like ours.
Installation to Manufacturer Specification
James Hardie siding is engineered with specific fastening, clearance, and joint requirements. Installing it to spec — not just to "close enough" — is what preserves the manufacturer's warranty and the product's real-world performance. This includes correct ground clearance, proper caulking at penetrations, and factory-recommended fastener patterns for our wind zone.
Finish and Cleanup
We finish with a full walk-through, checking caulk lines, trim details, and touch-up paint where needed, and we clear the site of old material and debris before calling the job complete.
Material Choice: Why We Install Only James Hardie
We install James Hardie fiber cement siding exclusively. We don't install vinyl, LP SmartSide, Cemplank, Allura, or primed wood siding, and that's a deliberate standard, not a limitation of what we're able to do. In a climate with hurricane wind exposure, constant UV, and salt air, the trade-offs of those other products — heat and impact vulnerability for vinyl, moisture sensitivity at cut edges and seams for engineered wood, and inconsistent finish quality on some fiber cement alternatives — show up faster here than almost anywhere else in the country.
James Hardie's HardieZone system is engineered specifically for climate exposure, fiber cement is non-combustible, the ColorPlus factory finish resists fading and chipping far better than field-applied paint, and the product carries a strong transferable warranty when installed to spec. For a Sunset Point home taking the kind of climate stress described above, it's the material we're willing to put our name behind.
Signs Your Current Siding Needs Replacing
Not every siding problem means a full replacement, but these are the signs worth having inspected before they turn into structural repairs:
- Bubbling, peeling, or cracking paint that keeps returning after touch-ups
- Soft or spongy spots when you press on the siding or trim
- Visible warping, buckling, or panels that have pulled loose from the wall
- Persistent mold, mildew, or dark staining, especially on north- or shade-facing walls
- Rising energy bills with no other explanation, which can point to a compromised wall assembly
- Siding that's more than 20-25 years old, especially if it's never been fully inspected behind the surface
Cost Factors for Siding Installation in Sunset Point
Every home is different, but the line items that drive cost on a siding job are consistent. We don't quote fake numbers here — pricing depends on the specifics of your home — but this is what actually moves the estimate up or down.
| Factor | Why It Matters |
|---|---|
| Home size and wall complexity | More square footage and more corners, gables, and dormers mean more labor and material |
| Condition of existing sheathing | Rot or water damage found during tear-off requires repair before new siding goes up |
| Siding profile and trim details | Lap width, board-and-batten accents, and trim complexity all affect labor time |
| Number of window and door openings | Each opening needs individual flashing and trim work |
| Existing barrier and flashing condition | Full replacement of the water-resistive barrier adds time but is essential for long-term performance |
| Access and site conditions | Tight lot lines, landscaping, or multi-story walls affect scaffolding and staging needs |
Why Hiring a Crew That Already Works Sunset Point Matters
Siding contractors who work Pinellas County regularly know the wind-zone requirements, the permitting process through the local building department, and the specific failure patterns that show up on homes exposed to this coastline. That familiarity shows up in the details — correct fastener schedules for the applicable wind speed, flashing choices that account for wind-driven rain, and an eye for the kind of hidden moisture damage that's common on older Gulf Coast homes.
It also matters for the practical side of the job. A crew that regularly works this area understands typical lot setbacks, HOA expectations where they apply, and how to sequence a job around Florida's afternoon storm patterns so a home isn't left exposed with an open wall overnight. None of that is complicated, but it's the difference between a smooth installation and one that runs into avoidable delays or callbacks.
Maintenance After Installation
James Hardie siding is low-maintenance compared to wood or vinyl, but "low-maintenance" isn't "no-maintenance." We recommend an annual visual check for caulk separation at joints and trim, a rinse to clear salt residue and airborne debris, and prompt attention to any impact damage from storm debris. Caught early, these are simple fixes. Left alone, they're the kind of small gaps that let moisture back into the wall assembly.
If your Sunset Point home needs new siding, or you just want a straight answer on whether your current siding is holding up the way it should, we're glad to take a look. Reach out for a free, no-pressure estimate using the form below.