 Clearwater Siding
 Why Siding Fails Faster in Clearwater Than Most Places
Siding on a home in Pinellas County works harder than siding almost anywhere else in the country. Clearwater sits on a peninsula surrounded by the Gulf and Tampa Bay, which means salt-laden air is constantly in contact with exterior walls. Add in year-round UV exposure that's more intense than most of the continental U.S., wind-driven rain from summer storms, and the occasional hurricane-force wind event, and you have a climate that stress-tests every seam, fastener, and finish on a house. Siding that might last three or four decades in a drier, milder climate can start showing real problems in half that time here if it wasn't built or installed for this environment.
The good news is that failing siding almost always gives warning signs before it becomes a structural problem. Knowing what to look for — and catching it early — is the difference between a manageable repair and a full tear-off with water-damaged sheathing underneath.
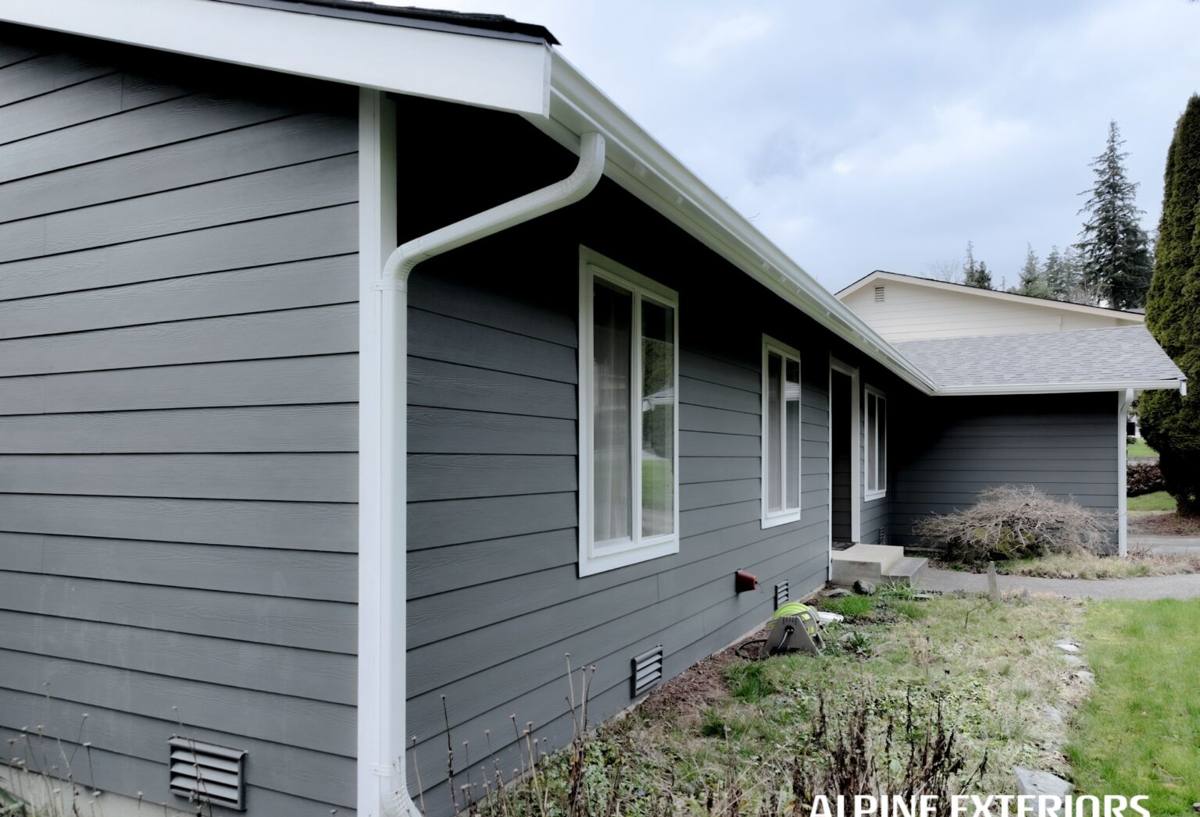
Visual Warning Signs You Can Spot From the Ground
Warping, Buckling, or Waviness
Stand at the corner of your house and sight down a wall. Siding should read as flat and straight. If you see wave patterns, bulges, or boards that look like they're pulling away from the wall, moisture has likely gotten behind the material or the substrate underneath is compromised. This is common with wood-based products that absorb humidity and swell, then dry and shrink, over and over, until the material loses its shape permanently.
Cracking and Splitting
Hairline cracks that follow the grain of a board, or splits at the ends where pieces butt together, let water in behind the surface. In Clearwater's climate, a small crack in spring can be a soft, rotted section by hurricane season if it goes unaddressed, because every heavy rain event pushes more moisture into the opening.
Fading, Chalking, and Color Breakdown
Intense, near-constant UV exposure breaks down pigments and resins in lower-quality paint and coatings faster than in northern climates. If you run a finger across your siding and it comes away with a chalky residue, the factory or field-applied finish is degrading. This isn't just cosmetic — once a finish fails, the substrate underneath loses its protection from both UV and moisture.
Peeling or Bubbling Paint
Paint that's lifting, bubbling, or peeling in sheets (rather than just fading) usually means moisture is trying to escape from behind the siding. That's a sign of a moisture problem in the wall assembly, not just an aging paint job, and repainting over it without addressing the underlying cause will fail again quickly.
Signs You Have to Touch or Get Close To Notice
- Soft or spongy spots — press on the siding, especially near the bottom courses, around windows, and at corners. Any give or sponginess means the material or the sheathing behind it is wet and breaking down.
- Rot at butt joints and corners — these are the seams where water intrusion starts. Check with a fingertip or a flathead screwdriver for anything that isn't solid.
- Loose or missing fasteners — nails or screws that have backed out, or panels that flex when pushed, mean the attachment has failed and wind can get behind the material.
- Gaps at seams and trim — openings that weren't there originally, or caulk lines that have separated, are entry points for wind-driven rain.
- Insect activity — termite tubes, carpenter ant frass, or small holes near the bottom of walls often show up first where siding has already started to soften.
- Musty odors or visible mold on interior walls — if you smell mildew inside near an exterior wall, or see staining on interior drywall, siding failure on the outside is a likely source.
- Rising utility bills — failing siding often means failing house wrap or insulation behind it, letting conditioned air escape.
What's Actually Happening Behind the Surface
Most siding failure isn't really about the outer surface — it's about what happens once moisture gets past it. Once water reaches the house wrap, sheathing, or framing, you're dealing with wood rot, mold growth, and potentially compromised structural sheathing. In a coastal climate like Clearwater's, that process moves faster because humidity rarely drops low enough for wood-based materials to fully dry out between rain events. A problem that might sit dormant for a season in a dry climate can progress year-round here.
This is why we pay close attention not just to what siding looks like, but to how a given material behaves when it gets wet, how it handles repeated wet-dry cycling, and how forgiving it is of small installation imperfections that inevitably happen on a real job site.
How Material Choice Affects How Fast These Signs Show Up
Not all siding materials show these warning signs at the same rate, and it's worth understanding why before you decide what to replace failing siding with.
| Material | Common Failure Pattern in This Climate | Typical Timeline |
|---|---|---|
| Untreated or primed wood (spruce, cedar) | Swelling, warping, rot at joints from repeated moisture absorption | Can show stress within 5-10 years without diligent repainting |
| Engineered wood (OSB-based products) | Edge swelling and softening if the factory coating is compromised at a cut edge or fastener point | Variable; edge swelling can appear within a decade in high-humidity zones |
| Vinyl | Warping/melting from heat and reflected sunlight, cracking from UV embrittlement, wind damage in storms | Cosmetic fading often visible within 7-10 years; wind failures happen suddenly during storm events |
| Fiber cement (properly installed) | Failure typically limited to caulk/paint maintenance items rather than the panel itself | Core material is dimensionally stable across decades when installed to spec |
We install exclusively James Hardie fiber cement siding for this reason. It's non-combustible, engineered specifically for humid climates (Hardie's HZ10 product line is formulated for exactly the Gulf Coast conditions Clearwater sees), and it doesn't swell or rot the way wood-based products can when they take on moisture. That doesn't mean fiber cement is maintenance-free — caulking, paint, and flashing details still need attention over time — but the base material itself isn't the weak link the way it can be with other options.
A Practical Inspection Checklist
Twice a year — a good rhythm is before hurricane season starts and again in late fall — walk the full perimeter of your home and check the following:
- Sight down each wall for waviness, buckling, or panels pulling away from the structure
- Press on siding near the bottom courses, corners, and under windows for soft spots
- Check caulk lines at trim, windows, and doors for cracking or separation
- Look for chalking residue by running a hand across a shaded section
- Inspect for peeling or bubbling paint, especially on south- and west-facing walls that get the most sun
- Check fastener heads for corrosion, backing-out, or staining (a sign of rust bleed)
- Look at interior walls near exterior corners for stains, bubbling paint, or musty smells
- After any major storm, walk the exterior specifically looking for wind-lifted or cracked panels
When a Repair Is Enough vs. When It's Time to Replace
Isolated damage — a single cracked or storm-damaged panel, a failed caulk joint, a small soft spot caught early — can often be repaired without touching the rest of the wall. The calculation changes once you're seeing multiple signs across different parts of the house, or once you find soft sheathing behind the siding in more than one location. At that point, patching becomes a losing game: you fix one spot and another shows up six months later because the underlying material or installation is failing systemically, not just in one place.
A straightforward way to think about it: if an inspection turns up isolated, surface-level issues, repair is reasonable. If it turns up soft sheathing, rot at multiple locations, or a pattern of the same problem recurring across different walls, that's a signal the assembly as a whole has reached the end of its useful life — even if it isn't dramatically obvious from the street yet.
What Correct Replacement Looks Like
If replacement is the right call, the work that happens behind the new siding matters as much as the siding itself. That means removing and inspecting the sheathing underneath, replacing any rotted structural material, installing a proper weather-resistant barrier, and flashing windows, doors, and penetrations correctly before the new siding ever goes up. Skipping these steps to save time is exactly how a brand-new siding job ends up showing the same warning signs again within a handful of years.
For the siding itself, we install James Hardie fiber cement with its ColorPlus factory finish, which is baked on and warrantied against fading in a way that field-applied paint isn't. Combined with correct installation — proper fastening, clearances, and joint treatment — it's a system built to hold up to Pinellas County's combination of sun, salt, humidity, and wind rather than just resist one of those factors at a time.
Get an Honest Look Before It Gets Worse
If you've noticed any of the signs above — or you just haven't had your siding looked at in a few years — it's worth getting a professional set of eyes on it before the next storm season adds stress to a wall assembly that's already compromised. We offer free, no-pressure estimates and inspections for Clearwater homeowners, and we'll tell you honestly whether you're looking at a repair, a partial replacement, or nothing urgent at all. Fill out the form below to schedule a visit.