 Clearwater Siding
 Building Decks for Island Estates, Where the Water Is Part of Daily Life
Island Estates sits differently than most Clearwater neighborhoods — canal frontage, boat access, and open water views are part of what makes it desirable, and part of what makes deck-building here harder than it looks. A deck on this island isn't just an outdoor living space; it's a structure that sits closer to salt water, catches more direct sun, and takes wind loads that inland Pinellas County homes rarely see. We've built and repaired decks throughout the area long enough to know that a deck designed for a typical suburban backyard usually fails early out here — not because the crew did sloppy work, but because they used inland assumptions on a waterfront lot.
This page is about what a custom deck actually needs to hold up in Island Estates specifically: the materials, the fasteners, the framing details, and the process we follow so the deck you get is built for the site it's actually on.
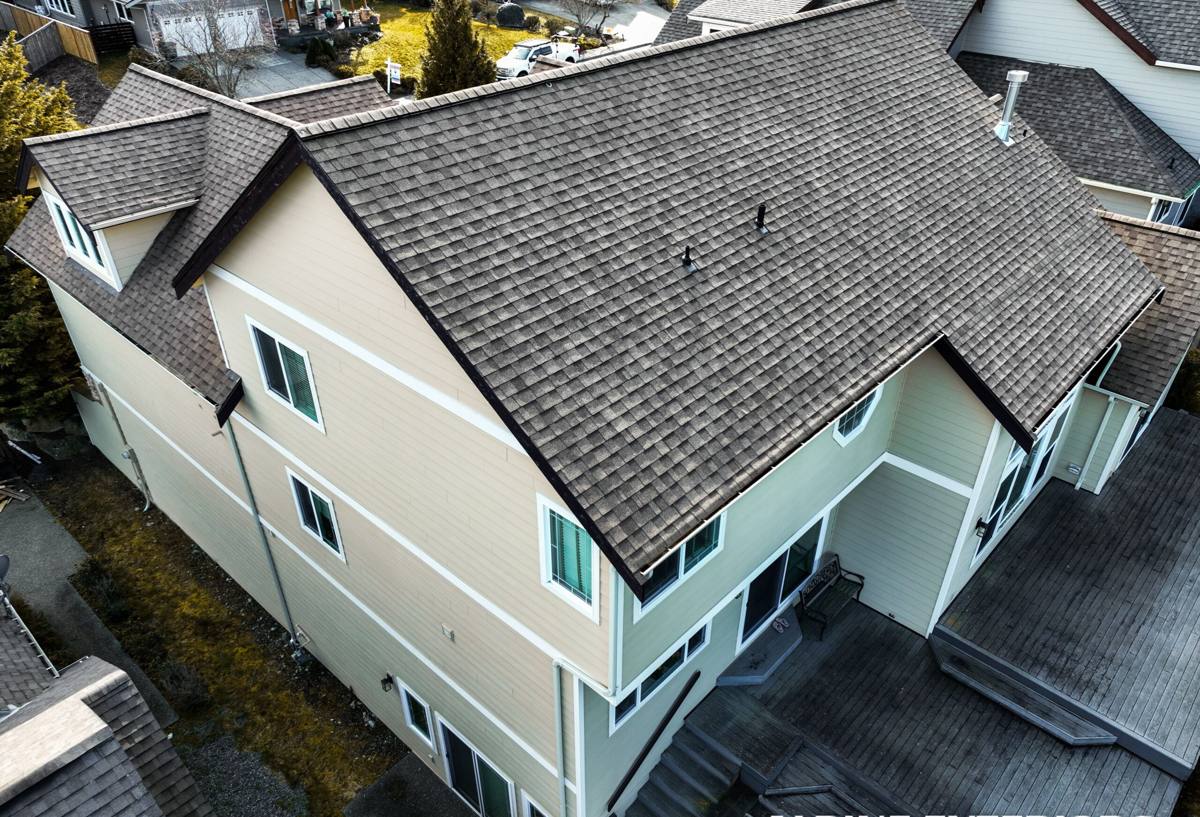
What Island Estates Properties Demand From a Deck
Four things drive almost every decision on a waterfront deck build here, and they compound on each other more than most homeowners expect:
Salt Air and Water Proximity
Canal and open-water proximity means airborne salt settles on every exposed surface — decking, railings, and especially metal hardware — even on days with no direct spray. Salt accelerates corrosion in fasteners and speeds up the breakdown of finishes that aren't rated for it.
Intense, Year-Round UV
Florida sun doesn't take a season off. UV breaks down wood fibers, fades composite color, and dries out sealants faster than in most parts of the country. A deck built with UV exposure as an afterthought will look tired within a couple of years.
Wind-Driven Rain
Storms here don't just drop rain straight down — wind pushes it sideways and up under railings, into ledger connections, and between deck boards. Any gap or unsealed joint becomes a path for water intrusion, and on an island lot that water has nowhere fast to drain if grading and ledger flashing aren't handled correctly.
Hurricane-Force Wind Loads
Pinellas County's building code reflects the real wind exposure this area sees, and waterfront lots often sit in higher wind-exposure categories than inland lots a few miles away. Railings, post connections, and ledger attachment all need to be engineered — not just built by eye — to hold up when a storm actually tests them.
Choosing a Decking Material That Actually Fits This Site
There's no single "best" decking material — there's the right material for a given budget, maintenance appetite, and exposure level. On an Island Estates lot, exposure level is usually higher than average, which changes the math on a few common choices.
| Material | Salt/UV Performance | Maintenance | Typical Lifespan Here |
|---|---|---|---|
| Pressure-treated wood | Fair — needs a protective finish to hold up to salt air and sun | Annual cleaning and resealing recommended | 10-15 years with upkeep |
| Tropical hardwood (e.g., ipe) | Good natural density and rot resistance, but still needs periodic oiling to prevent graying and surface checking from UV | Periodic oiling; heavier, harder install | 20-25+ years with upkeep |
| Capped composite | Strong — the cap layer resists salt staining and UV fade far better than uncapped composite or wood | Occasional washing; no sealing or staining | 25-30 year warranty ranges typical |
| Uncapped composite | Weaker — more prone to surface fading and moisture absorption at the core over time in coastal conditions | More frequent cleaning needed | Shorter effective service life near water |
For most Island Estates homes, we steer clients toward either a well-maintained tropical hardwood for a high-end natural look, or a capped composite when low maintenance is the priority. We're generally cautious about uncapped composite this close to the water — it's not that the product is bad, it's that its moisture and UV performance simply isn't matched to this level of coastal exposure, and we'd rather set that expectation up front than have a client disappointed in year three.
Framing, Fasteners, and Flashing: Where Coastal Decks Actually Fail
The decking surface is what you see, but the framing underneath is what determines whether the deck is safe and long-lived. This is the part of the job that separates a deck built for this environment from one that just looks fine on installation day.
Ledger Attachment and Flashing
Where the deck ties into the house is the single most common point of hidden water damage. Proper flashing — installed so water sheds outward and down, never into the house framing — matters more here than in drier climates because wind-driven rain actively pushes water toward that joint.
Fastener Corrosion
Standard galvanized fasteners corrode faster in salt air than most homeowners realize, sometimes staining the decking around them within a year or two. We use stainless steel or coated fasteners rated for coastal and treated-lumber exposure, along with joist tape on top of framing members to keep moisture from wicking into the wood at every screw penetration.
Post Bases and Connections
Wind uplift is a real force on an open waterfront lot, not a theoretical one. Post-to-beam and post-to-footing connections need engineered hardware sized to the wind exposure category for the site, not whatever bracket happens to be on the truck.
Permitting and Code Requirements for Clearwater Decks
Deck permitting in Pinellas County covers structural framing, railing height and baluster spacing, footing depth, and wind load compliance — and waterfront lots can add setback or environmental review requirements depending on proximity to the water. Skipping the permit might save a week upfront, but it creates real problems later: unpermitted decks routinely surface as issues during home sales, insurance inspections, and storm damage claims.
- Structural plans sized to the actual wind exposure category for the lot
- Railing height and guard spacing that meets current code
- Footing depth appropriate to local soil conditions
- Any waterfront-specific setback or review triggered by canal or open-water proximity
- Final inspection sign-off before the deck is considered code-compliant
We handle the permit process as part of the job — pulling the permit, scheduling inspections, and building to the approved plan — so the finished deck is one you can insure, sell, and use without a paper-trail headache down the road.
Our Process, From First Look to Finished Deck
The process doesn't change dramatically because a lot is waterfront, but a few steps get more attention than they would on an inland job.
- Site visit and assessment — we look at sun exposure, wind exposure, existing structure (for repairs or replacements), and any drainage or grading issues specific to the lot.
- Material and design conversation — we walk through the material comparison above in the context of your budget and how much upkeep you actually want to do.
- Engineered plan and permit — framing, connections, and railings are sized to the site's wind exposure and submitted for permit.
- Framing and flashing — this is where the coastal-specific details (fasteners, joist tape, ledger flashing) actually get installed, and it's the stage that determines the deck's real lifespan.
- Decking, railings, and finish work — installed to the manufacturer's coastal installation guidance where applicable.
- Final inspection and walkthrough — we confirm the permit closes out and walk the finished deck with you before calling the job done.
Maintaining a Deck in a Salt-Air, High-UV Climate
Even the right materials installed correctly still need some ongoing attention in this environment. The goal is to catch small issues before they become structural ones.
- Rinse salt residue off decking and railings periodically, especially after dry, windy stretches
- Check fastener heads and visible hardware annually for corrosion staining
- Inspect the ledger flashing area at the house connection for any signs of moisture intrusion
- Reseal or oil wood decking on the manufacturer's recommended schedule — don't stretch it because it "still looks okay"
- Keep gaps between boards clear of debris so water and airflow can do their job
- After any major storm, walk the deck and check post connections and railings before assuming everything's fine
Why It Matters That We Already Work in Island Estates
A contractor who mostly builds inland decks will often default to standard-issue hardware and finishes because that's what works on 90% of their jobs. On an Island Estates lot, that default is exactly what leads to premature corrosion, fading, and water problems. Having built and repaired decks on this island and in similarly exposed parts of Clearwater and Pinellas County, we already know which fastener grades hold up, which materials are worth the upcoming cost, and what the permitting office expects for a waterfront property — so we're not learning those lessons on your project.
If you're planning a new deck, replacing an aging one, or dealing with a deck that's already showing salt or storm damage, we're happy to take a look and walk you through what your specific lot needs. Reach out for a free, no-pressure estimate — the form below gets you started.