 Clearwater Siding
 Why Island Estates Roofs Wear Differently Than Inland Homes
Island Estates sits on the water, and that changes the math on how long a roof lasts. Homes here take on a combination most inland Pinellas County properties don't see all at once: salt-laden air off the Gulf and Intracoastal, near-constant UV exposure, wind-driven rain that finds its way under poorly sealed shingles, and the real possibility of hurricane-force gusts during storm season. None of these factors is unique to this neighborhood, but the combination and intensity here is higher than it is a few miles inland, and it shows up in the roofs we inspect — granule loss happens faster, fasteners corrode sooner, and flashing details that would hold up fine elsewhere start to fail years ahead of schedule.
A shingle roof that's installed correctly for this environment can still deliver a normal service life. The issue is that "normal installation" and "correct installation for a waterfront property in Clearwater" aren't the same thing, and the difference is usually invisible until a storm or a slow leak exposes it.
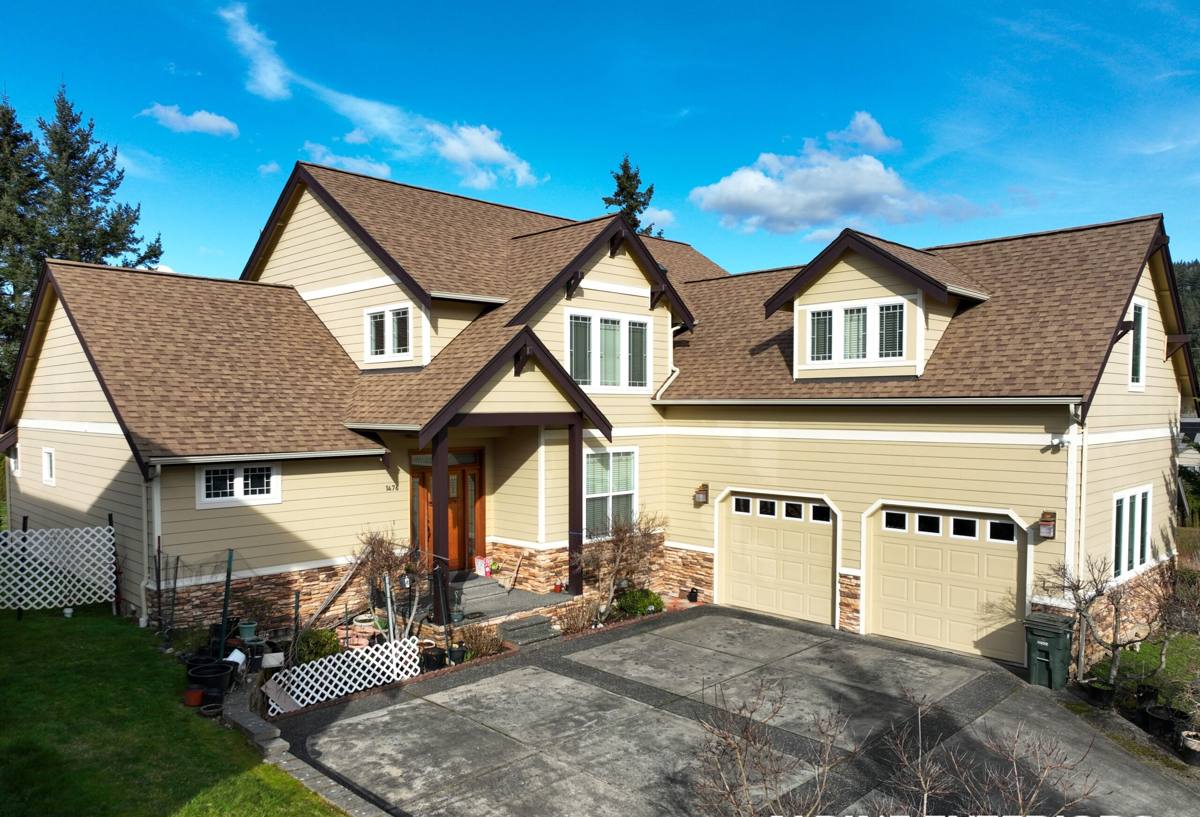
What Salt Air and Sun Actually Do to a Shingle Roof
Salt Air and Metal Components
Every shingle roof has a supporting cast of metal parts — nails, drip edge, flashing, vent stacks, ridge caps. Salt air accelerates corrosion on all of it. A roof that looks fine from the driveway can have fasteners that have lost significant holding strength, which matters enormously when hurricane-force wind is trying to peel shingles back.
UV and Granule Loss
Florida sun is hard on asphalt shingles everywhere, but the reflected light and heat off open water can push surface temperatures on a waterfront roof even higher during summer months. Over time, UV breaks down the asphalt binder and the protective granules wear away, leaving the shingle brittle and less able to shed water.
Wind-Driven Rain
Rain that comes in sideways during a storm doesn't behave like rain falling straight down. It works its way under shingle tabs, around vent boots, and into any gap in the sealing pattern. On a property exposed to open water on multiple sides, wind-driven rain is a routine event, not a once-a-decade one.
What a Correct Installation Looks Like Here
Underlayment
We install a synthetic underlayment as the primary water barrier beneath the shingles, with self-adhering waterproof membrane at eaves, valleys, and any roof-to-wall transition. This is the layer that keeps a home dry if wind ever lifts or damages shingles during a storm, so it isn't a place to cut corners.
Fastening Pattern
Nailing pattern and fastener placement matter more here than in a low-wind inland zone. Shingles installed with the correct number of nails, in the manufacturer's specified nailing zone, hold up dramatically better in sustained wind than shingles installed quickly with a minimal fastener count. We follow the manufacturer's high-wind nailing specification, not the minimum code allowance.
Starter Strips, Hips, and Ridges
The starter course along eaves and rakes is one of the most common places we find shortcuts on older roofs — using cut-down field shingles instead of proper starter strip product. Correct starter strip, hip, and ridge shingles, properly sealed, close off the edges where wind first gets a grip on a roof.
Flashing and Penetrations
Every pipe boot, chimney, skylight curb, and wall intersection is a place water can get in if the flashing isn't sized, lapped, and sealed correctly. We replace pipe boots and step flashing rather than reusing old ones, since flashing is inexpensive compared to the interior damage a bad seal causes.
Choosing a Shingle for a Waterfront Property
Not every asphalt shingle product is built the same way, and the differences matter more on a property exposed to salt air and open-water wind. The table below is a general comparison to help frame the decision — actual wind ratings and warranty terms vary by manufacturer and should be confirmed for the specific product line.
| Shingle Type | Typical Wind Rating | Best Fit | Trade-Offs |
|---|---|---|---|
| 3-tab | Lower wind rating tier | Budget-conscious re-roofs on lower-exposure structures | Less wind resistance and shorter typical service life in this climate |
| Architectural / laminate | Mid-to-high wind rating tier | Most homes in this neighborhood | Higher upfront cost than 3-tab, better long-term value in high-UV, high-wind conditions |
| Impact-rated architectural | Highest wind rating tier, often with impact rating | Homes seeking maximum storm resilience or insurance credits | Highest material cost; may qualify for wind mitigation insurance discounts |
For most Island Estates homes, we recommend architectural shingles rated for high wind, paired with the reinforced underlayment and fastening approach above. The added cost over 3-tab shingles is modest relative to the difference in how the roof performs during a named storm.
How Our Process Works
Inspection and Honest Assessment
We start with a full roof inspection — deck condition, existing flashing, ventilation, and any signs of past water intrusion. We'll tell you plainly if a repair is a reasonable option or if the roof is past the point where patching makes sense.
Proposal and Product Selection
You get a written scope that specifies underlayment type, shingle product and wind rating, flashing approach, and ventilation plan — not just a total price. This is the document we hold ourselves to during the job.
Tear-Off and Deck Inspection
Full tear-off lets us actually see the roof deck. Any water-damaged or rotted decking gets replaced before a single shingle goes down — installing new shingles over a compromised deck is a shortcut we don't take.
Installation
Underlayment, flashing, starter strips, field shingles, hip and ridge — installed in that order, to spec, with attention to the nailing pattern discussed above.
Cleanup and Final Walkthrough
Magnetic sweep for stray fasteners, full site cleanup, and a walkthrough so you know exactly what was done and what to watch for going forward.
Ventilation: The Detail Homeowners Rarely Ask About
A shingle roof's lifespan depends heavily on what's happening underneath it. Poor attic ventilation traps heat and moisture, which shortens shingle life from below at the same time UV is shortening it from above. Balanced intake and exhaust ventilation — soffit vents paired with ridge or other exhaust vents — keeps attic temperatures more reasonable and reduces the moisture that leads to deck deterioration. We check and correct ventilation as part of any full roof replacement, not as an upsell after the fact.
Ongoing Care in a Salt Air Environment
A well-installed shingle roof still benefits from periodic attention, especially this close to the water. A simple maintenance routine catches small problems before they become interior repairs.
- Visual inspection twice a year and after any significant storm, checking for lifted or missing shingles, exposed fasteners, and debris buildup in valleys
- Keep gutters and downspouts clear so water isn't backing up under the shingle edge
- Trim back overhanging branches that drop debris or provide a path for pests onto the roof
- Have flashing around chimneys, skylights, and vent stacks checked every few years, since sealants degrade faster in continuous salt air and sun
- After any hurricane or tropical storm warning for the area, schedule a post-storm inspection even if no leak has shown up yet — some wind damage doesn't leak until the next heavy rain
- Address small leaks immediately; a slow drip through a compromised deck can turn into a much larger repair if left through a full rainy season
Permits, Wind Mitigation, and Insurance
Reroofing in Pinellas County requires a permit and inspection, and code requirements reflect the area's wind exposure. A roof replacement is also a natural time to have a wind mitigation inspection done — features like the shingle's wind rating, the type of roof-to-wall connection, and secondary water barrier can affect windstorm insurance pricing. We handle the permitting process as part of the job and can point you toward what a wind mitigation inspector will be looking for, though that inspection itself is typically done by a separate licensed inspector for insurance purposes.
Why Local Experience in Island Estates Matters
A roofing crew that regularly works this neighborhood already knows the exposure conditions, the typical age and construction of homes here, and which installation shortcuts fail first in this environment. That's different from a crew doing their first waterfront job in Clearwater. We've built our process around what actually holds up here — the underlayment, fastening, and flashing decisions above aren't generic best practices, they're the specific response to what salt air, sun, and coastal wind do to a roof on this stretch of the Gulf coast.
If you're weighing a repair against a full replacement, or just want a straight answer on where your current roof stands, we're happy to take a look. The form below gets you a free, no-pressure estimate — no obligation, just an honest assessment of what your roof needs.